Using your web browser’s built-in features will save you time and make it easier to capture screenshots without installing extensions or software. Mozilla Firefox and other modern web browsers have built-in screenshot tools that let you capture the entire page, a specific region, or a specific element.
I’ll go over a few different ways you can take a screenshot in Firefox and have included a video if you prefer a more visual way of learning. It’s pretty simple to do, you’ve just got to know the shortcuts.

Alternatively, you can watch the video above to learn how to take a screenshot or screen capture in Firefox web browser on desktop. Don’t use Firefox? Download it here.
Using Firefox is helpful for web developers and anyone experiencing caching issues after making any changes to a website when using Chrome. Firefox is great for these situations because it lets you reload your site and view the updated version without any caching problems. To see your changes, open Firefox and refresh the page.
If that doesn’t do the trick just clear the cache. Still having issues? It may be your server cache or a plugin cache on your website.
Did you clear your cache?
said every web designer everywhere.
Taking a Firefox Screenshot on a Mac
Here’s how to take a screenshot in Mozilla Firefox on a Mac:
- Go to the webpage you want to capture.
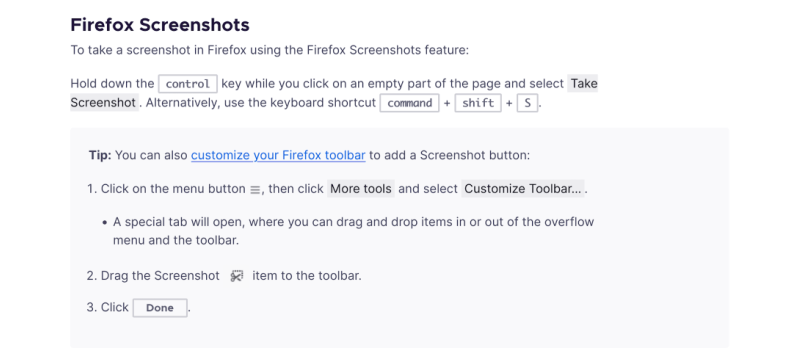
- Click the hamburger menu (three horizontal lines) in the top-right corner.
- Choose *”Take a Screenshot” from the menu that appears.
- On the top of the page, you’ll see a toolbar with options to capture the whole page, a region, or a specific element. Choose the option you want.
- Using your mouse, select the region or element you want to capture on the page.
- After you select the area you want to capture, a new tab will open with the screenshot image. The screenshot can then be saved to your computer or shared.
*If you don’t see this option, you’ll need to customize the toolbar. Click on the “more tools” menu item, then “customize toolbar”. You’ll see ‘take a screenshot’ there. Just drag and drop it in the menu bar and click done. It will stay stuck there for future use.

You can also use macOS’ built-in “Screenshot” feature to grab a screenshot in Firefox.
- Select the window or screen you would like to capture and open it.
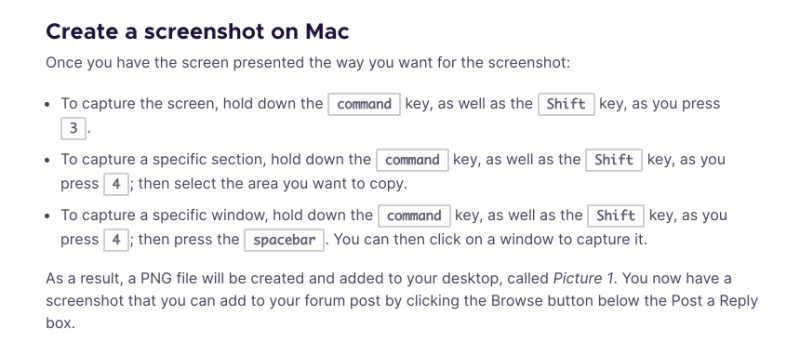
- Use the “Command + Shift + 3” keys on your keyboard. As a result, a screenshot of the entire screen will be saved on your desktop as a .png file.
- To capture a specific area of the screen, press “Command + Shift + 4” instead. The cursor will change to a crosshair, which you can use to select the area you want to capture. After you release the mouse button, the screenshot will be taken and saved to your desktop as a .png file.
- You can capture a window or menu by pressing the “Command + Shift + 4” keys and then pressing the spacebar. Your cursor will change to a camera icon, which you can use to select the window or menu that you wish to capture. Taking a screenshot of a window or menu will save the file as a .png on your desktop once you click on it.
Once the screenshot is open, you can edit it in an image editing program like Preview.

Taking a Firefox Screenshot on IOS
Take a screenshot in Mozilla Firefox on an iOS device (like an iPhone or iPad) by following these steps:
- You’ll need to open the Firefox app on your iOS device and navigate to the website you want to capture.
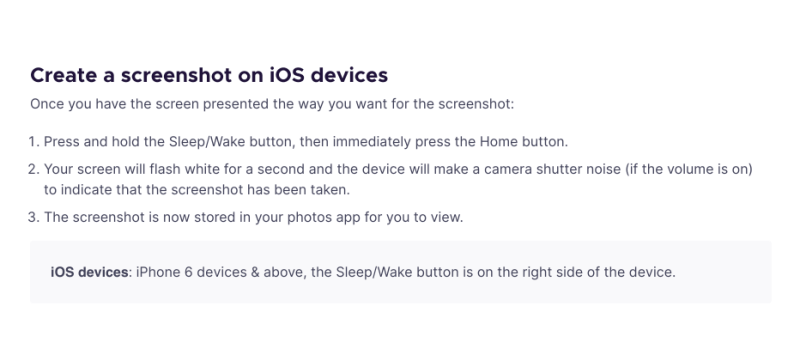
- Press “Home” and “Power” at the same time. Your device’s Photos app will save a screenshot of the current screen.
- If your device has both a “Top” and “Home” button (like an iPhone 8 or earlier), press the “Top” and “Home” buttons at the same time.
- You can find the screenshot in the “Screenshots” album in the Photos app. The screenshot will be saved there. The screenshot can then be edited or shared.
Note: Some iOS devices take screenshots differently. If the above steps don’t work on your device, you might have to follow the manufacturer’s instructions.

Here’s how to take a screenshot on an Android device:
- Go to the screen or app you want to capture.
- Hold down the power and volume buttons at the same time.
- You’ll see a flash or notification when a screenshot is taken.
- Screenshots are automatically saved to your gallery or photos app. Open the app and navigate to the screenshots folder (usually “Screenshots”).
There may be a different way to take screenshots on some Android devices. If the above steps don’t work, you may need to refer to your device’s manufacturer’s instructions.
There are so many more ways to take screenshots and screen captures on any device you have on hand, except for that flip phone you’re still using…
My face when my member pulled out his flip phone 😭 pic.twitter.com/rPITKMtNV2
— ❁sarah mae🤌🏼 (@sarahfbabyxO) November 29, 2021
The built-in features of your web browser can save you time and make it easier to capture screenshots without having to install extra extensions. Modern web browsers, like Mozilla Firefox, have built-in screenshot tools that let you capture the entire page, a specific region, or an element on the page. You can use these tools to take a quick screenshot for personal use or to share with others, and they’re convenient and easy to use.
It’s also important to note that there are specialized screenshot tools and extensions that may offer additional features and functionality that you might find useful. There are some tools that let you edit or annotate screenshots, take larger screenshots of scrolling pages, or automate the process of taking multiple screenshots. You may find that using one of these specialized tools or extensions is more efficient or provides more flexibility than using your browser’s built-in screenshot tools.


