Nothing stops visitors from clicking away faster than a slow loading site. It has been said that it only takes about 3 seconds for people to get bored waiting for a site to load before moving on to the next thing.
There are a few things that increase site load time and your overall SEO scores, image size being the biggest culprit of them all! We’ll focus on how to optimize images for your site and break it down into bit sized pieces.
Optimize Images Before Uploading
Reducing image size is easy and has the most impact on SEO.
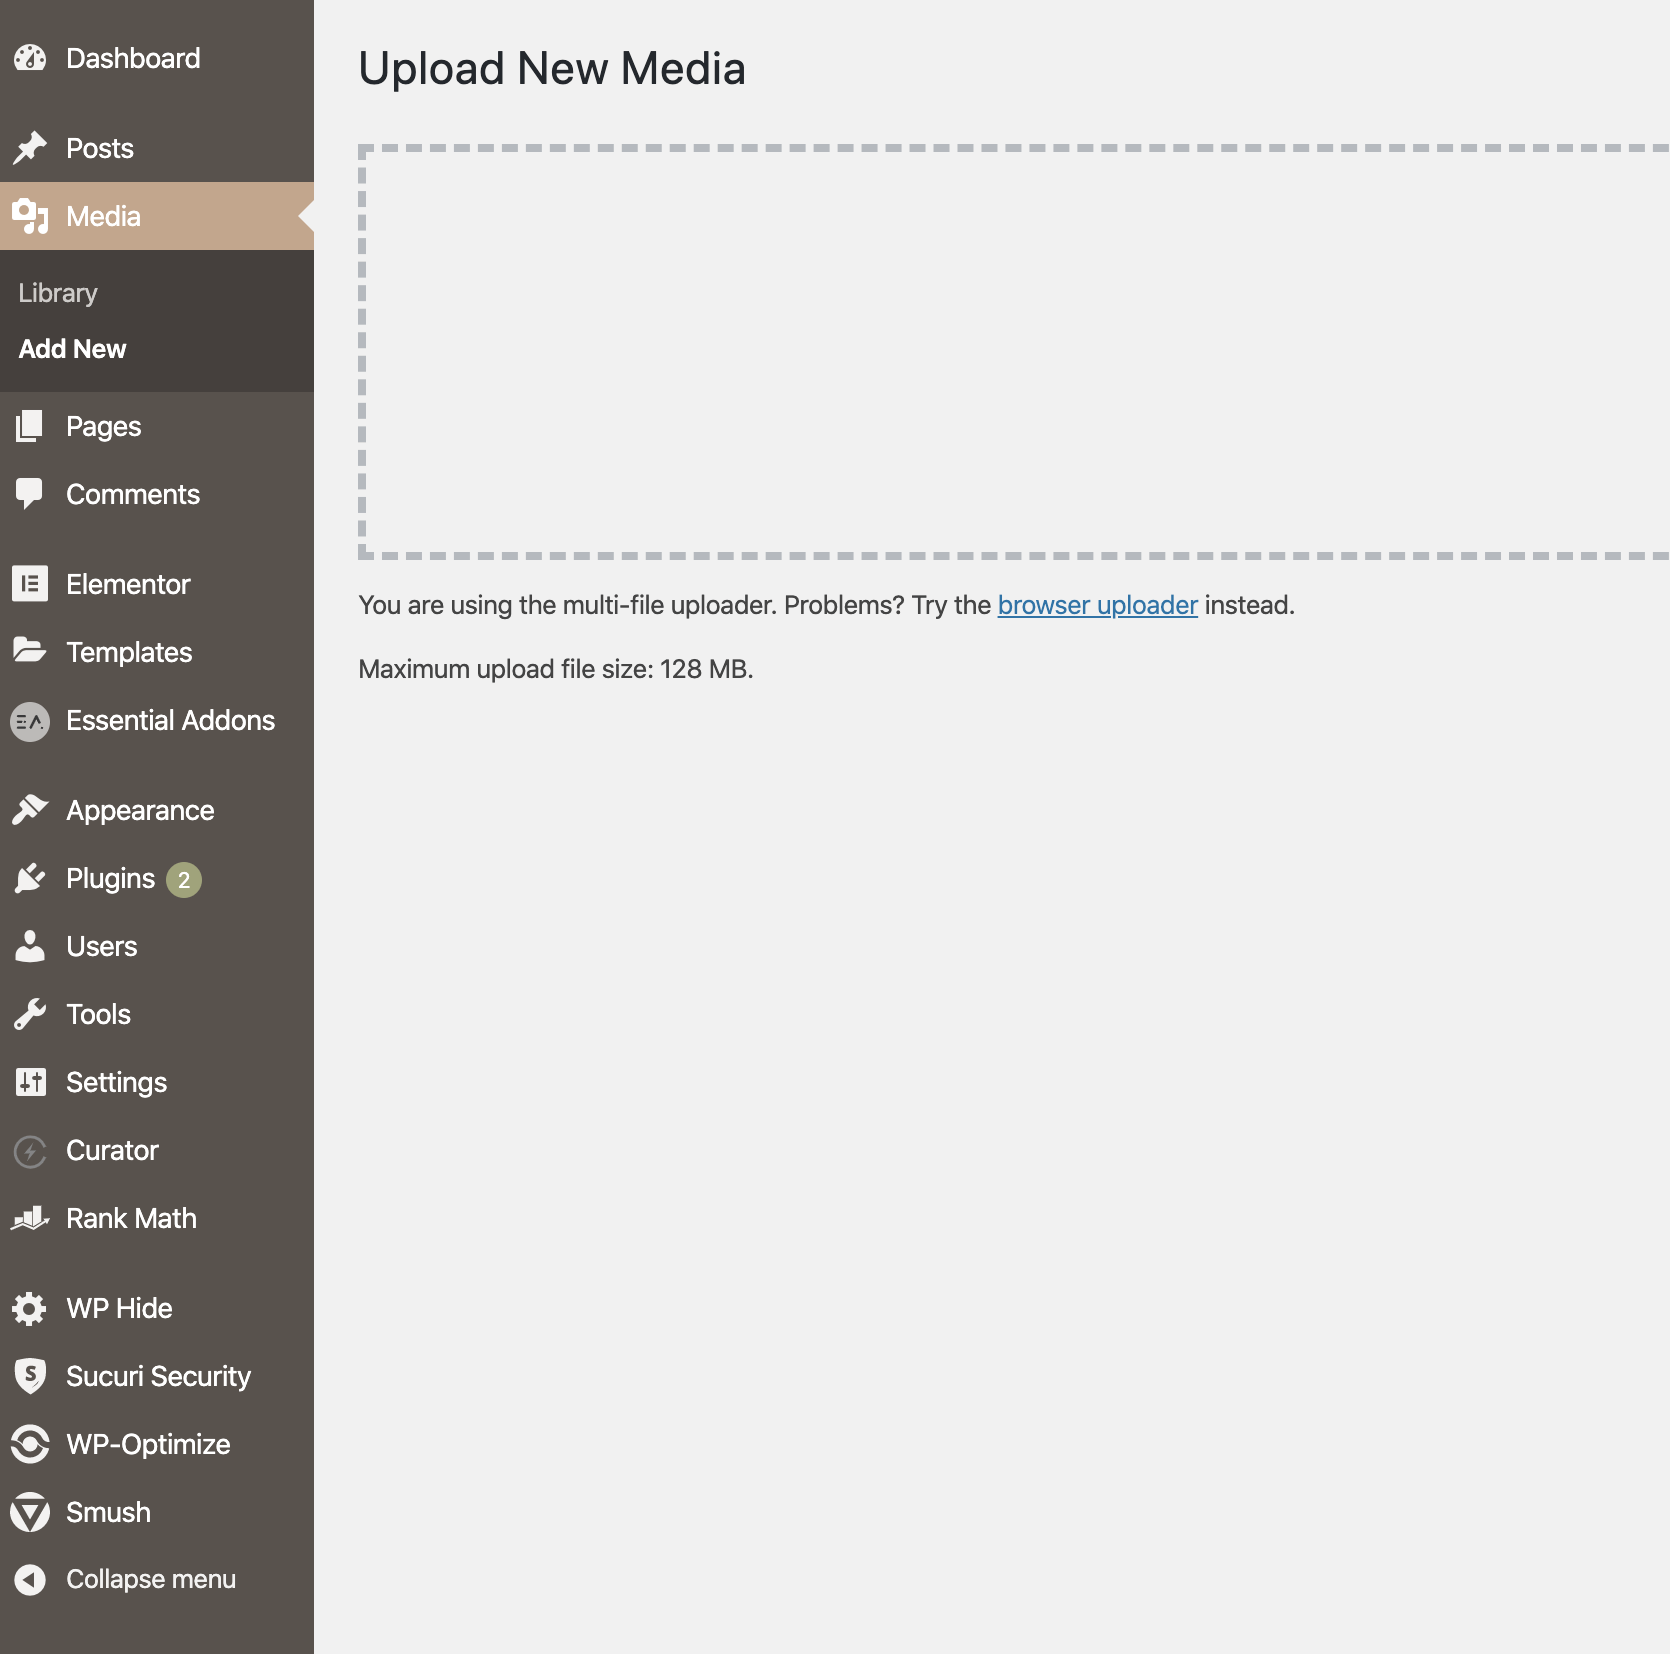
If you’re a WordPress user you’ve probably noticed that in the media library there is a limit as how how large an image you can upload. Depending on your theme, you can use images as large as 256MB or more!
Don’t do it!
An image larger than about 200KB, (as in kilobyte not megabyte) isn’t necessary and will slow your site down. Smaller is even better however it’s important to use image dimensions suitable for your theme and to have a high quality photo without pixelation.
You can check the requirements for your particular theme by heading to your WordPress dashboard to find the maximum file upload size and media settings.
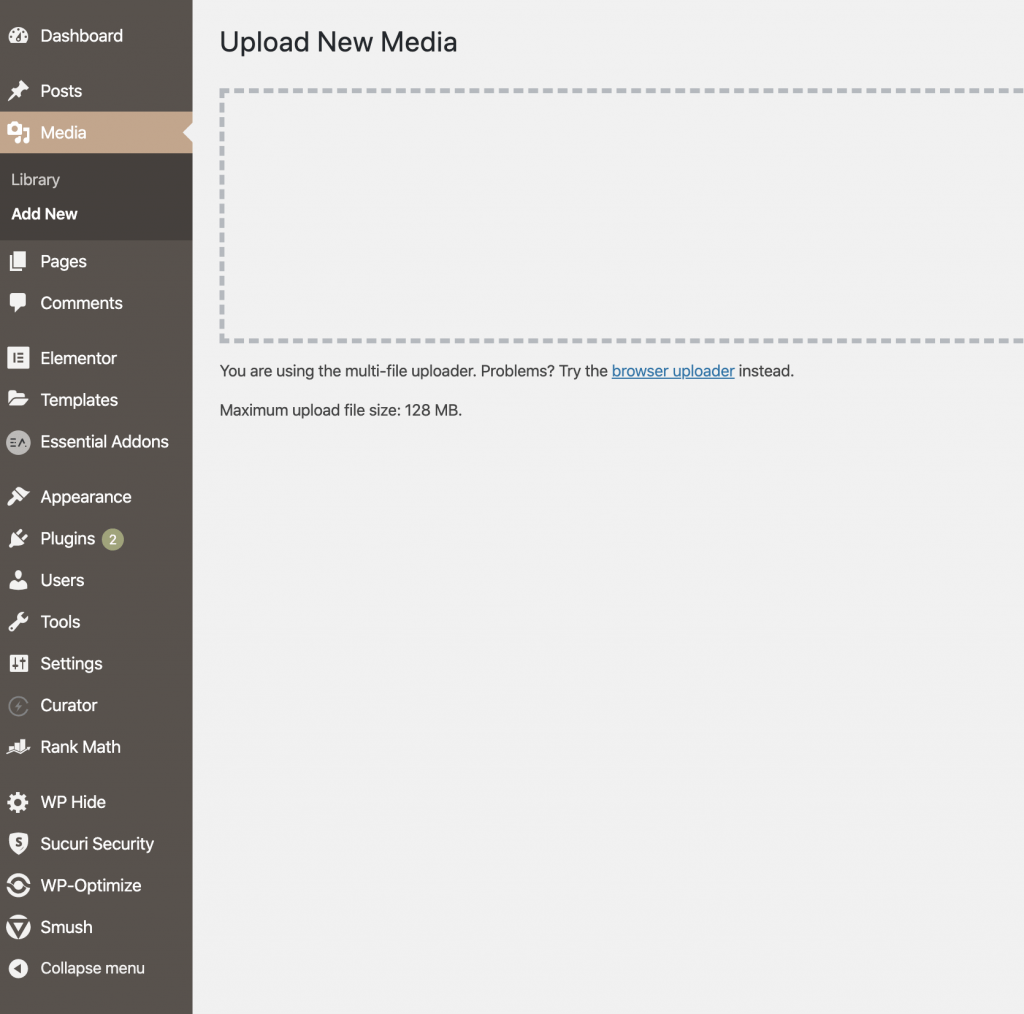
Don’t rely on WordPress to optimize your images for you, rather, use an image optimization tool before you load them into the media library. You can of course use plugins to further compress images but do the heavy lifting first by optimizing images outside of your media library first.
There are some great tools out there, here’s a short list.
4. Ways to Optimize Images for Wordpress
1. TinyPNG
Before uploading images to WordPress, optimize them first in tinyPNG. You can upload up to 20 images at a time and this free service will shrink your image file size by up to 60%! Then you can download them in bulk to a folder on your computer, rename them for SEO, and away you go! It’ll save you a ton of work and headaches worrying about slow loading times. There’s also a paid version to upload more images at once.
2. Photoshop
If you’re skilled in graphic design you probably know that Photoshop is by far the best tool out there. It’s not free (about $30US/mth) and requires a good bit of knowledge to use effectively.
3. ImageOptim
This is a really cool tool! It’s easy to use too. Just download the ImageOptim program to your desktop, drop and drap the images you want to optimize and voila! The images are automatically resized in the folder you have them saved, and the original is moved to the trash! And, you can grab a whole bunch to do at once!
This is a time saver and does a much better job at reducing file sizes quickly.
4. PicMonkey and Canva
We use PicMonkey for optimizing images and creating graphics for this website. We use the basic paid version for more features, like the background removal tool and there’s a Team version for groups of 3 or more. Canva is another great tool with a ton of ready-made templates to take your designs to the next level. Both have free and paid versions which are pretty comparable in price.
Is your site still loading slowly? Here’s how to check!
There’s an app for that! Or rather, there are free online tools you can use to check the speed of your site.
You can also use Google PageSpeed Insights but many people I’ve talked to don’t find it entirely accurate. It’s getting better over time though, so have a look for yourself.
Once you’ve had a look through the reports that are generated by these free online tools, you can pinpoint where the issues are. If you need help figuring it out, Proud Pup Media can help.
Just fill out the handy contact form and we’ll be in touch!
